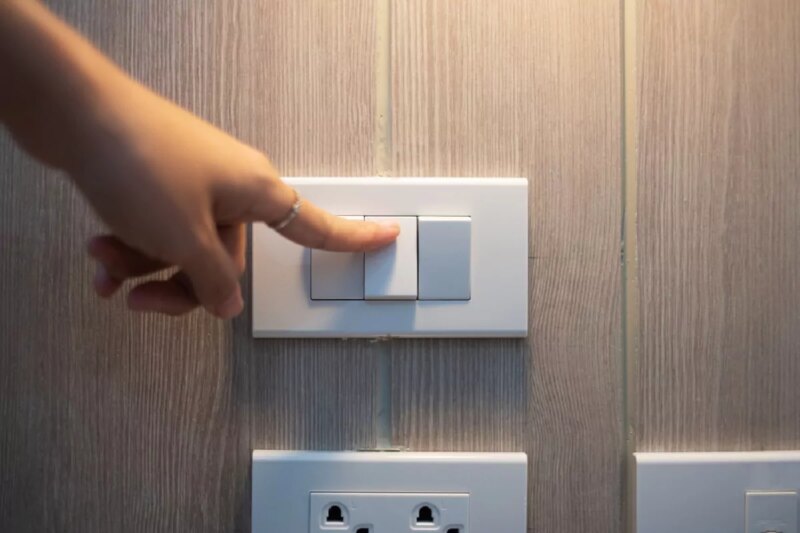
Welcome to this step-by-step guide to replacing a switch with ease. Whether you’re an experienced DIYer or new to domestic work, this article is designed to help you navigate the switch replacement process with ease.
We’ll break down each step clearly and concisely, so you can complete the task with confidence and safety. So, if you’ve got a faulty switch or just want to update the look of your home, read on to find out how to do the job properly.
Understanding when and why to replace a switch
Switches, like electrical outlets, can show signs of weakness after several years of intensive use. It is then necessary to replaced to ensure safe and efficient use of your electrical installation.
Certain symptoms may indicate that a switch needs changing: recurring malfunctionsvisible wear and tear or sizzling in use. In this article, we take you step-by-step through the switch replacement process, starting with selecting the right type of switch for your needs.
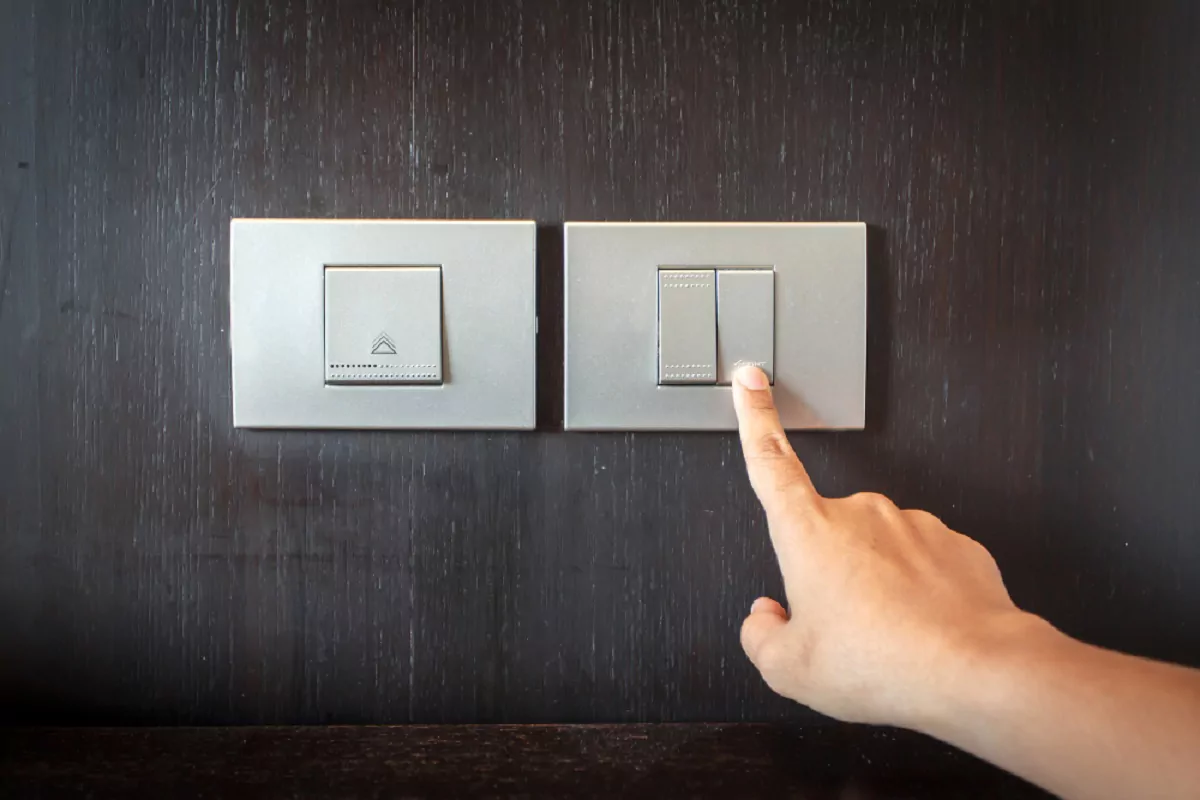
Choosing the right switch for your needs
There are several types of switch, each with its own specific use. Single-pole switches allows you to control a single light point from a single location. Bipolar switchis ideal for outdoor and wet areas, as it also controls a single light point from a single location.
To control a light source from two different locations, opt for two-way switch. If you want to manage two light points from the same location, the twin-circuit switch will be your best ally. Last but not least, the reversing switch or permutator allows you to control one light source from three or more locations, in conjunction with two two-way switches.
Preparing for switch replacement: safety and disassembly
To replace a switch safely, it is essential to cut the electrical circuit to which it is connected. If you’re not sure which circuit is involved, switch off the power supply to the whole house to avoid any risk.
Then proceed to remove control knob and cover plate from the switch. On recent models, the knob holds the plate, while on older models, screws are used. To confirm that the circuit is cut, use a voltage tester on the switch contacts. If the circuit is de-energized, no LED will light up on your tester.
Dismantling the old switch: disconnection and removal
Once safety has been ensured, it’s time to dismantle the existing switch.
- Start by remove screws which hold the switch in place on the wall.
- Once these screws have been removed, you can carefully remove the switch from the wall. You will then notice the wires connected to the switch by small screws.
- To detach these wires, simply slightly loosen these screws. Be careful not to use too much force, to avoid damaging the wires or screws. This step requires a certain amount of precision and care to ensure a successful replacement of your switch.
Installing the new switch: connecting and checking
- To install the new switch, start by secure the wires under the small screws on the device. If these have been damaged during loosening, it may be necessary to strip them again to ensure good contact.
- Once this operation has been completed, replace the switch in its slot on the wall.
- Then replace the cover plate and control knob.
- Finally, restore the power supply and test your new switch to make sure it works properly. This step is crucial to ensure the safety and efficiency of your electrical installation.