Changing a sink faucet can seem a daunting task to the uninitiated. However, with the right tools and a detailed guide, this operation can be carried out quickly and easily. That’s why this article has been written: for guide you step by step through the faucet replacement process sink faucet.
Whether you’re a DIY enthusiast or a complete novice, this practical guide is for you. So don’t wait any longer and discover how to renovate your plumbing and change a washbasin faucet without calling in a professional.
The essential tools for replacing a washbasin faucet
To change a sink faucet, it’s essential to have the right tools at hand. Pliers, open-end wrench and pipe wrench are required to remove the old valve and install the new one.
These tools will enable you to unscrew the hose nuts and remove the clamp from the old tap. Finally, don’t forget your new faucet! Prepare well before you start, to ensure that the process goes smoothly.
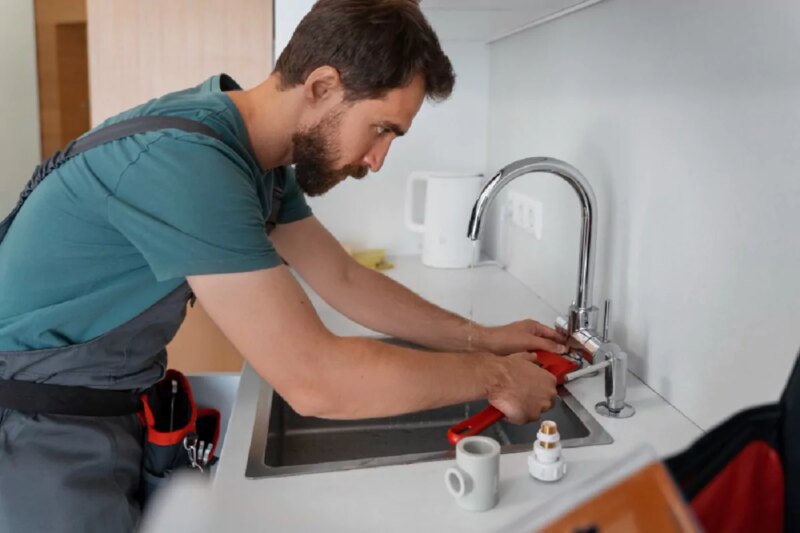
Procedure for removing the old faucet
To remove the old faucet, start by close the slanted stopcocks to shut off the hot and cold water. Use an open-end wrench to unscrew the nuts on the supply hose and detach it from the stopcocks.
Next, unscrew the anti-odour valve, the pull rod and the cap of the automatic drain. Using a pipe wrench, unscrew the tap nuts, remove the clamp and gasket at the same time, then remove the clamp from the old tap. The old tap can now be completely removed. This meticulous procedure ensures a clean space, ready for installation of the new faucet.
How to install the new faucet
It’s time to install your new faucet. Start by position the base on the sinkThen insert the pre-assembled hoses and pull rod into the hole provided for the faucet. Hold the new faucet in place on the base sliding the gasket and clamp over the studs threaded.
Then screw the nuts onto them and tighten them with a pipe wrench. Do not forget to fit the odour control valve to avoid any unpleasant olfactory surprises. Finally, open the slanted stopcocks again to enjoy your new equipment to the full.
The next step after installing the new faucet is to carefully check the connections to make sure there are no leaks. Gently open the slanted shut-off valves to restore the water supply and observe if drips appear around joints or fittings.
If everything looks watertight, test the valve operation by turning it on to check the water flow and the absence of leaks from the handles and spout. If necessary, adjust connections and tighten nuts to ensure a safe, leak-free installation. Once these checks have been carried out, you’ll be able to take full advantage of your new faucet, successfully installed thanks to your expertise and this practical guide.